PROCESS
You want some hand-painted OhYa goodness, and we can deliver. But there’s a lot that happens in between. We’re gonna break it down so you know what to expect when you work with us.
MEET
After you contact us, we will set up a meeting to discuss specifics, such as:
Do you already have a design? Or do you want us to create something from scratch? What is your vision? What are your goals for this project?
Describe the space. Is it interior or exterior? What is the substrate? (Will we be painting on brick, wood, concrete, drywall, etc.)
We will need ample photos of the site and measurements. We can take them if we are meeting in-person.
If this is for a sign, we will need all applicable information to be included.
What is your budget?
We will discuss any potential unforeseen expenses such as equipment rental, challenging environmental factors, or travel.
Are you comfortable with us documenting the process (photos and video) and sharing on social media?
Once we have all the information we need, we will put together a quote. Depending on the project, we may include different price levels to help fit within your budget.
We will submit a contract outlining the main points of the proposal. A 50% deposit will be due upon signing to secure the project and get it in our calendar.

DESIGN
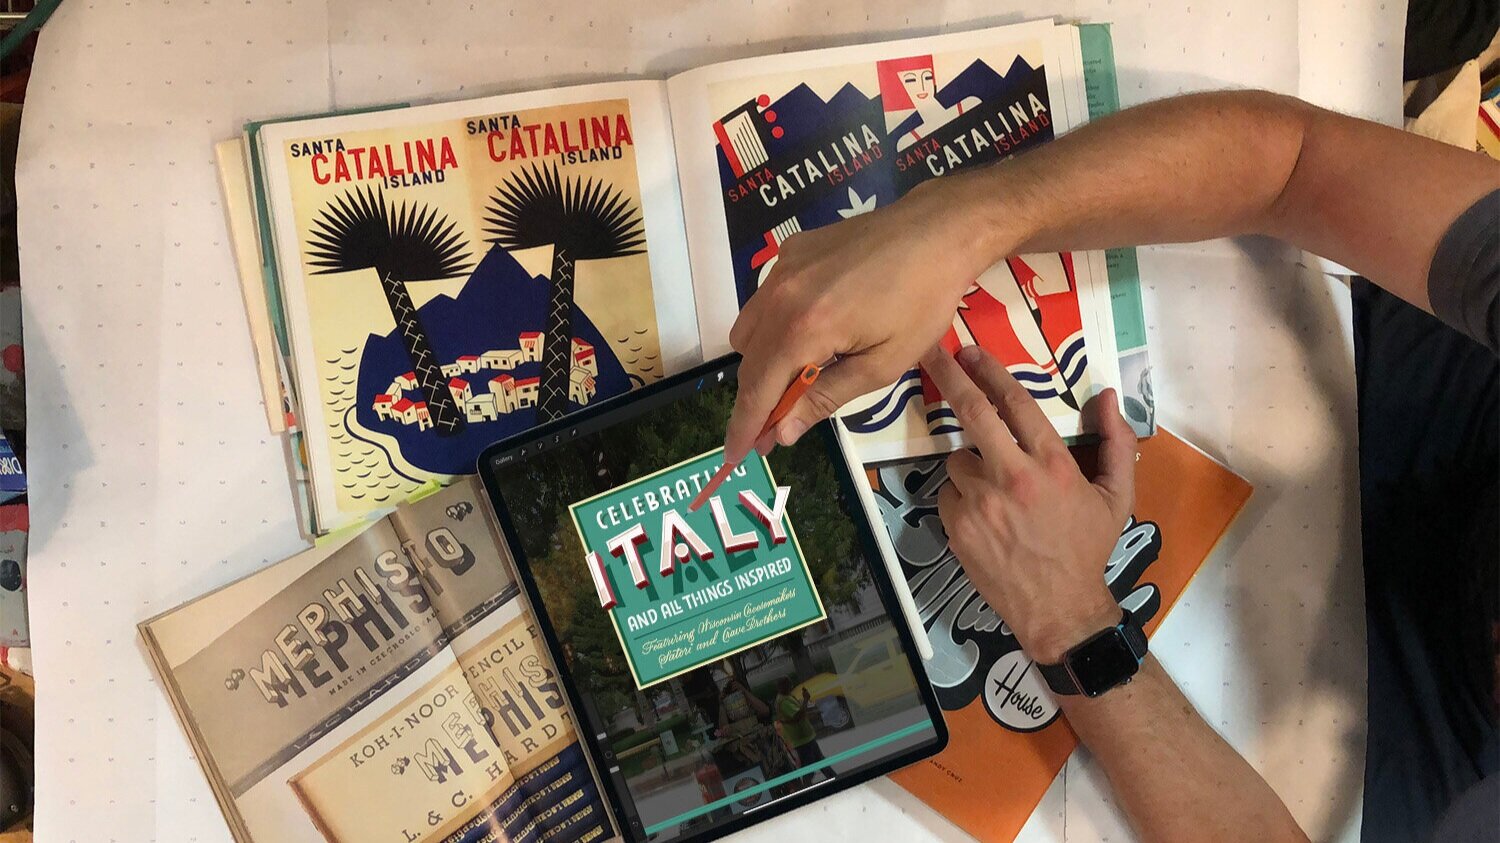
Phase 2 is all about design. We will use this time to do some research. We will gather inspiration and put together color palettes. With our varying backgrounds and skillsets, we each bring different things to the table - which we like to think is where the magic happens! We will eventually land on a few solid concepts, which we then apply to a digitally mocked-up photo. This mock-up helps you envision exactly what the design will look like in your space. We will put up to three concepts together as a PDF presentation, including photo mock-ups, and a brief description of each design.
Simultaneously, we will do all the necessary paperwork to ensure your project is within code.
INSTALL
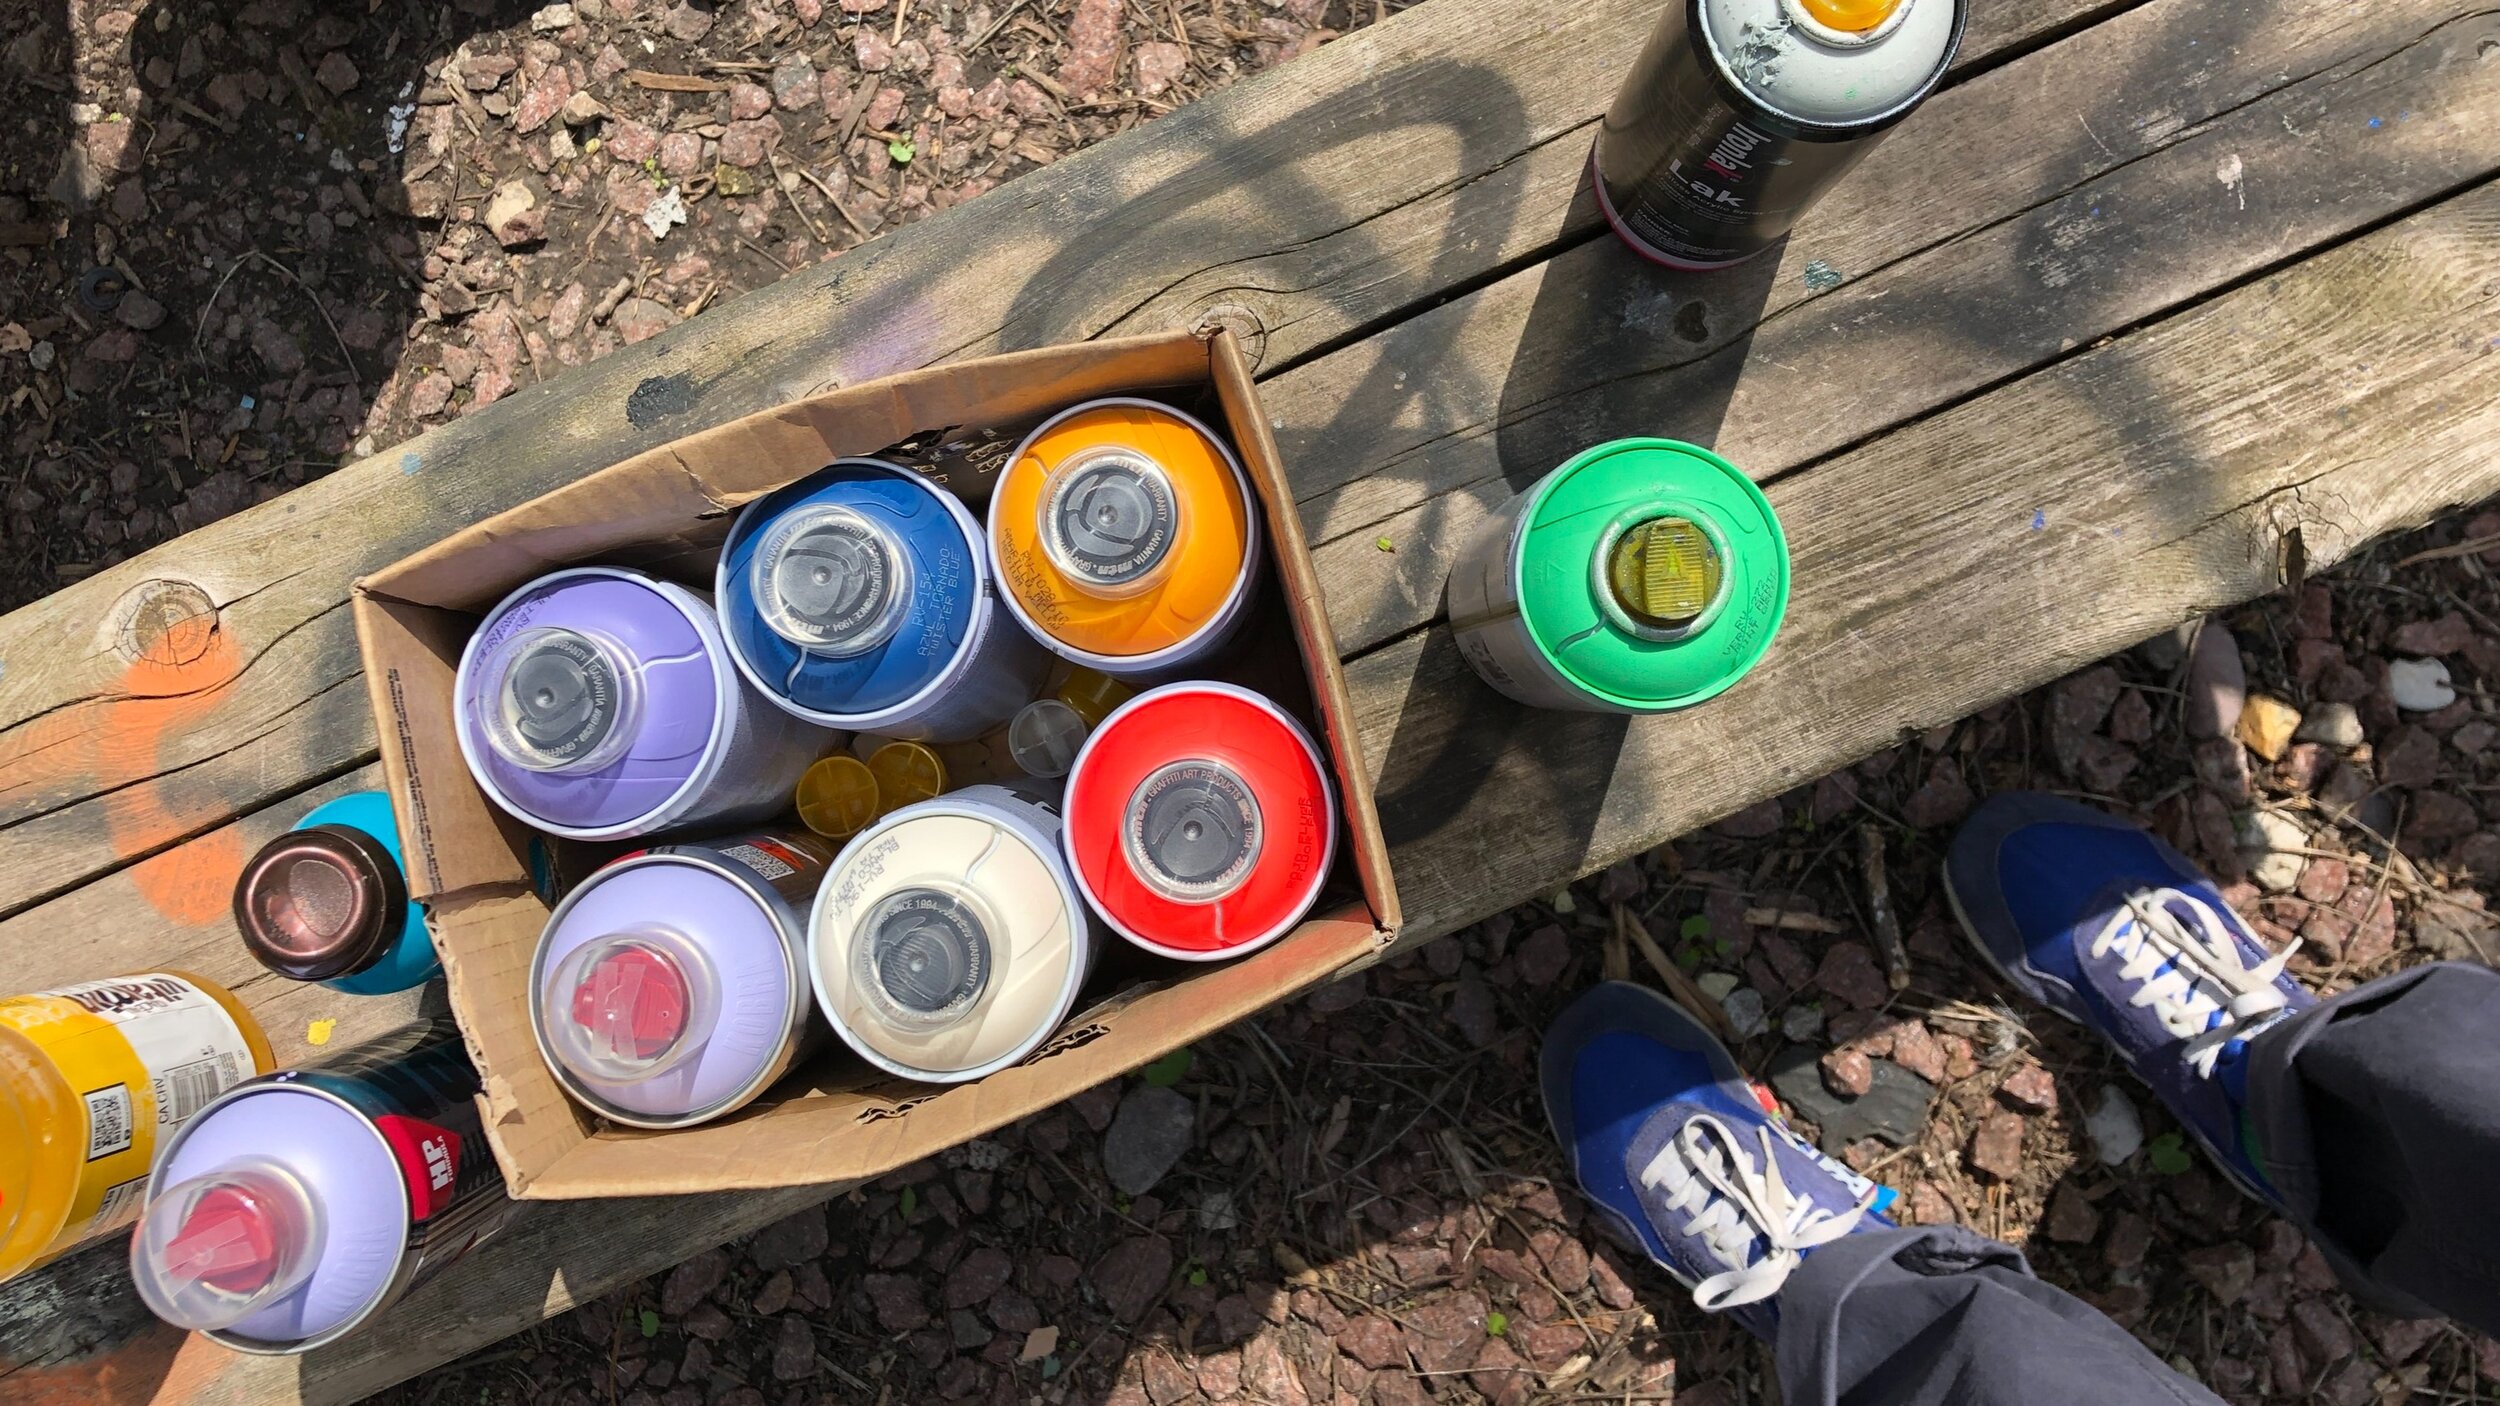
Once we have an approved design, we’re ready to roll! We will confirm install dates and secure any necessary rental equipment. We’ll buy all the paint and supplies and prepare our files for the transfer process. We have several methods of transferring your design onto the wall, but prefer using the pounce method whenever possible. (See description below)
At the site, we will bring everything we need, including scaffolding, drop cloths, step stools, etc. If we’re working multiple days, ideally we prefer to store everything on-site, but it’s not necessary. We typically paint during the day, but we can schedule an after-hours install upon request.
Some sign jobs can be completed at our studio. If that’s the case, we will work with you to discuss your sign delivery and/or install specifics.
Throughout the painting process, we take lots of photos and video, which we like to share on Instagram, tagging you when applicable. Our viewers love to see these sneak peeks and it’s a great promotional opportunity.
And, of course…paint, paint, paint…and then, CELEBRATE!
BONUS : POUNCE METHOD
One of the most common questions we are asked, is “How do you transfer your design onto a wall?”. We actually use several methods, depending on the situation. We’ve used the grid method, both traditional and doodle. We’ve used a projector. We’ve used transfer paper. But most of the time, we use the pounce method, which hearkens back to the days of the sign makers. We prefer creating pounce patterns, as it is incredibly accurate and pretty inexpensive.
To create a pounce pattern, you need:
• Paper with your scaled design
• A pounce wheel (it looks like a tiny pizza cutter with teeth) OR an electro pounce machine
• Sand paper (if using a pounce wheel)
• Powdered chalk or charcoal
• Tape
• Your substrate
Draft it.
The key to pouncing is getting your scaled design on a sheet of paper. You can print it (we’ve used large format printers in the past), or you can draft your design onto the paper by hand. We use large rolls of gridded paper to do our drafting. Large designs will require you to tile your paper to cover the whole area.
Pounce it.
To pounce your design means you are essentially perforating the paper with tiny holes. You can do this manually using a pounce wheel, or you can invest in an Electro Pounce, which perforates your paper using an electric current. If using a pounce wheel, you will need to sand the back of your paper to open up the holes a bit more.
Chalk it.
Tape your pattern onto the substrate. Choose a chalk color that will have a good contrast with the background. Fill your pounce pad or an old sock with chalk, tap tap tap your pattern, then rub the chalk over the paper, pushing the powder through the tiny perforations. Continue this process for the entire design.
Pounced.
Once you’ve finished with the pounce pad, you can remove your pattern to reveal your transferred design. Keep in mind, if you’re working outside, this isn’t the best method for rainy weather - as the chalk will wash away.
Paint the Base Color.
Now you can start painting! Since you will be painting over chalk, there is a chance, depending on the color, that your paint will pick up some of the chalk and smear. Not a problem - but you’ll probably have to go back with a second coat.
Paint the Details.
Now we’re getting somewhere!
Finish your painting, sit back, and enjoy your handiwork!